Digital Planning Basics, Planner Stickers, Planner Widgets
How to use Stickers and Widgets

Feb
Follow us on
Estimated reading time: 31 minutes
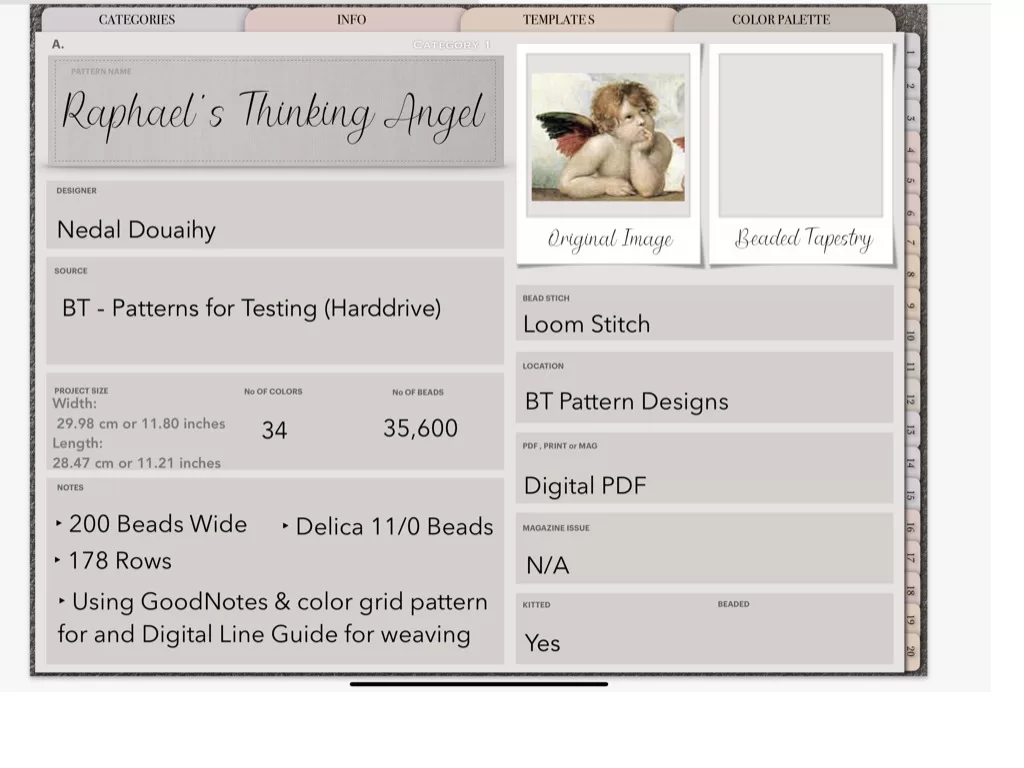
Stickers and widgets aren’t necessary for working with your digital beading planners, but they make them so much more fun! Adding stickers and widgets means making the planner truly your own, and that will reflect your personality. If you remember pages by their stickers or widgets as I do, you will easily find them in the thumbnail view.
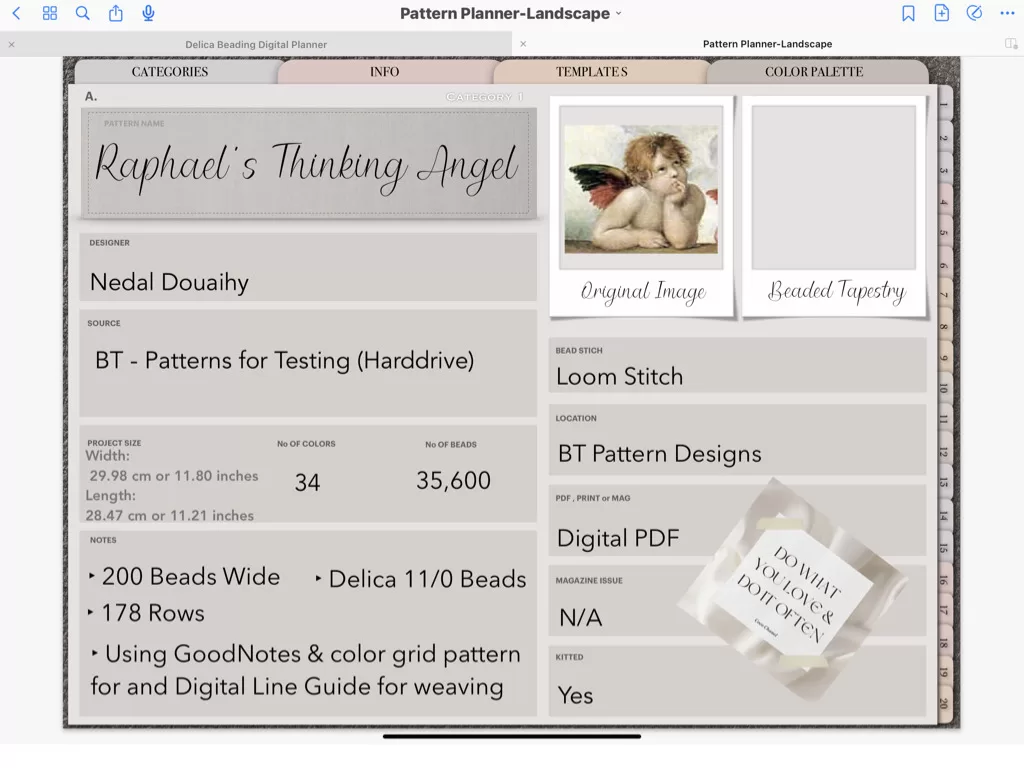
To show how to do this, I will be using the Quote Stickers available for free download from the Treasury.
What is the Difference Between Stickers and Widgets?
Stickers are generally used for decorating and embellishing your digital planners, whereas widgets serve a function. The Digital Line Guide, for example, is a widget because it has a function, which is to help you stay on track when you are using your beading pattern. The Quote Stickers used as an example here are stickers, albeit motivational ones.
Our favorite Method to use Stickers and Widgets
There are different methods to do this, here is one of the simplest and the best.
Importing individual stickers PNG files using split screen.
Adding Stickers and Widgets PNGs to your Digital Planner
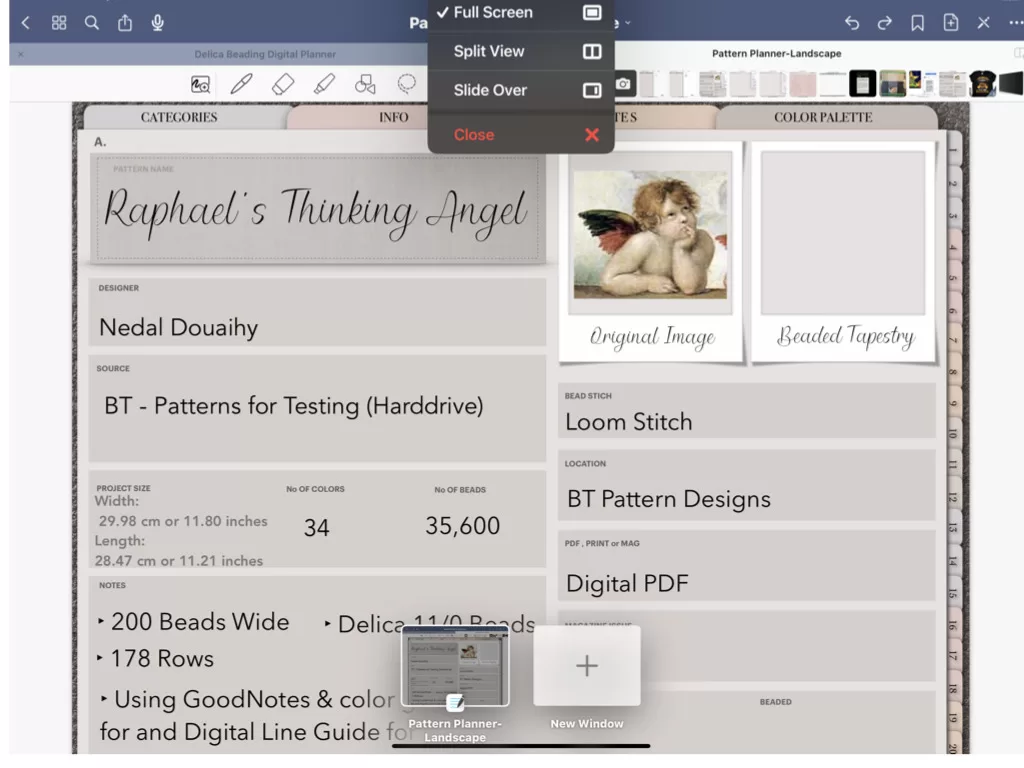
- Open your digital planner to the page onto which you want to add the sticker

- Open the folder containing the individual PNGs you want to import
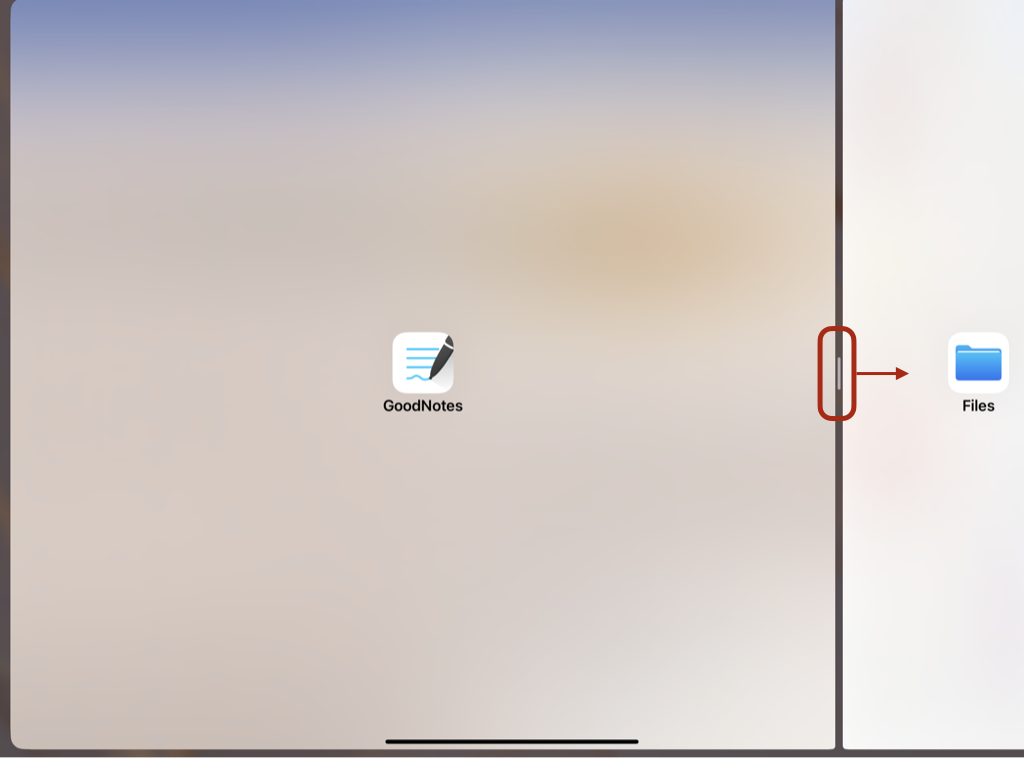
Do this by using a split screen with the GoodNotes and the Files apps open side-by-side. Tap on the three dots at the top of the screen and find the folder containing the stickers. In this example, our folder is on ICloud and is accessed by using the Files App.
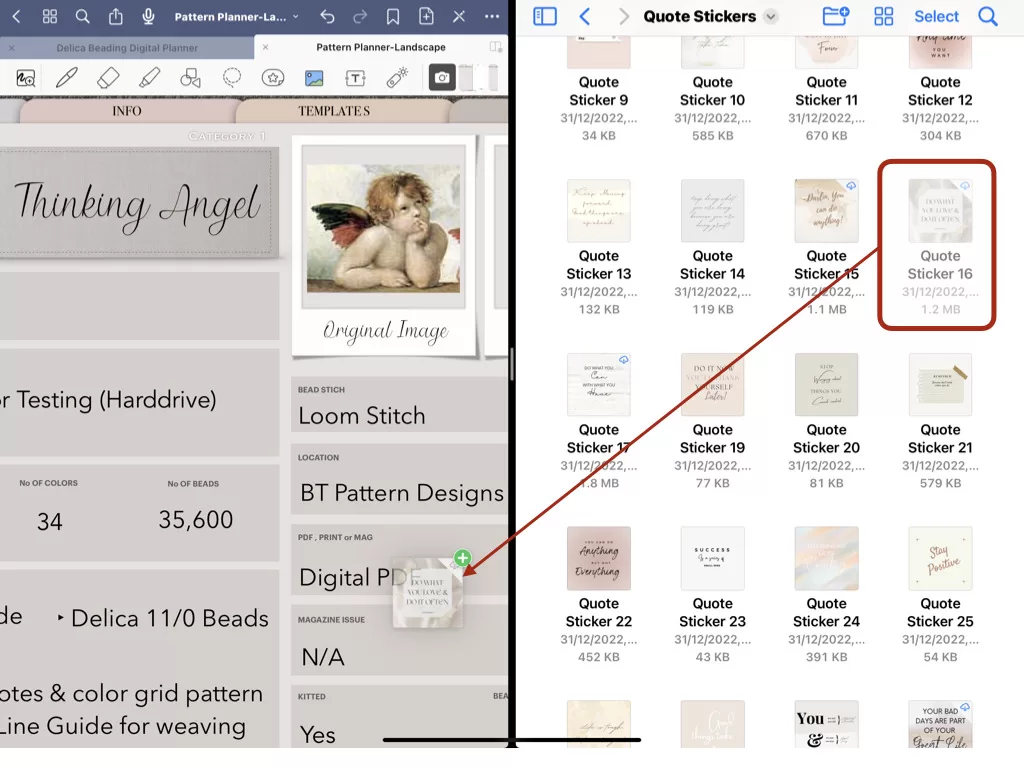
- Locate your desired sticker or widget and drag it over to GoodNotes. Do this by holding down on the sticker icon and dragging it over to the GoodNotes screen.
- Swipe the GoodNotes screen to the opposite side to enlarge it to make the next step easier.
- Crop, resize and arrange your sticker or widget as desired move it around and use the controls on the sides.
- You can move this sticker around or delete it or modify it later if you desire.
This sticker is covering some areas where text is to be entered, It could be made smaller or moved somewhere else later on!

Importing stickers by using a .goodnotes file
At Beading Treasures we do not have (at the time of writing this article) stickers for sale. Some so many talented digital artists sell digital stickers online, mainly on ETSY. We do however have stickers available for free to download from the Treasury. Some of the sticker packs come in multiple formats one of them being .goodnotes. This is a special file format for GoodNotes and contains stickers pre-cropped and ready to be imported all in one go.
Digital Line Guides
If you want to learn more about the digital line guides, here are some links.
Printable Line Guides
Do you have printed patterns that you want to use or are you not ready to work on your beading from your IPad or Mac?
We have a printable line guide for you that you can download and use as a template to make your line guide. I’ll leave the info just below, but first I want to tell you that you can use your Digital Line Guides as templates for the physical line guides. No need to purchase the physical when you purchase the digital. Ok now… those links.
Fun, Pretty & Functional
When you discover how easy it is to use stickers and widgets and how they make planning so much more enjoyable, it is easy to start collecting them as basically any PNG file can be a sticker. I speak from experience. If that happens, to save you from having to wade through files and try to find the one that has the sticker you have in mind, we have a Sticker Book, that matches your Beading Treasures digital planners color scheme, into which you can add all your stickers and organize and label sections as you wish. Here is the link.
Happy Planning!
If you enjoyed this post…
You might also like to read these posts too:
lATEST POSTS

Best Thread Color to Use with your Patterns
What is the best thread and thread color to use for weaving your bead tapestry?
Dec

Best Way to Weigh Your Beads
How best to go about weighing the beads in your stash before purchasing more for[...]
Dec
How BT is Helping You to Weave Large Bead Loom Tapestries
All things beading, bead looming large tapestries and digital planning for beaders.
Mar

Hi there! I’m Nedal.
I created Beading Treasures to make information about beading large tapestries more accessible, and in doing so encouraging creating of this amazing art form.
Weaving big can seem intimidating but by using some techniques it is totally doable, no more than that it is really enjoyable!
If you’ve found this blog helpful, please support me by choosing the affiliate products on my blog and following me on my social platforms.
Don’t forget to check out the shop.
Thank you!
Nedal Douaihy, Artist & Founder