Line Guides
Digital Line Guides & How to Import them into GoodNotes
Follow us on
Estimated reading time: 17 minutes
The Digital Line Guide (DLG) is the creation of Beading Treasures. I love using physical line guides and since I have started digital planning and working from a pattern within GoodNotes, I wanted something to use with all my patterns whether they were in a digital planner or not. All you need to use a DLG is your pattern in PDF format and GoodNotes, or any other PDF markup or annotation app, either on your iPad or Macbook or even your MAC. Actually, GoodNotes announced that it will be available for Windows and Android devices. You can use them with any other annotation or markup app on any device. This is a game-changer when it comes to working from patterns in digital pdf format. No more subscription fees and you can add as many as you want to a page.
Here is how to import them into GoodNotes so that they can be used with all your patterns.
What Exactly are Digital Line Guides
Digital Line Guides are essentially rulers. These rulers help you stay on track while weaving your bead tapestries. DLGs can be used for any pattern that requires reading linearly, line by line.
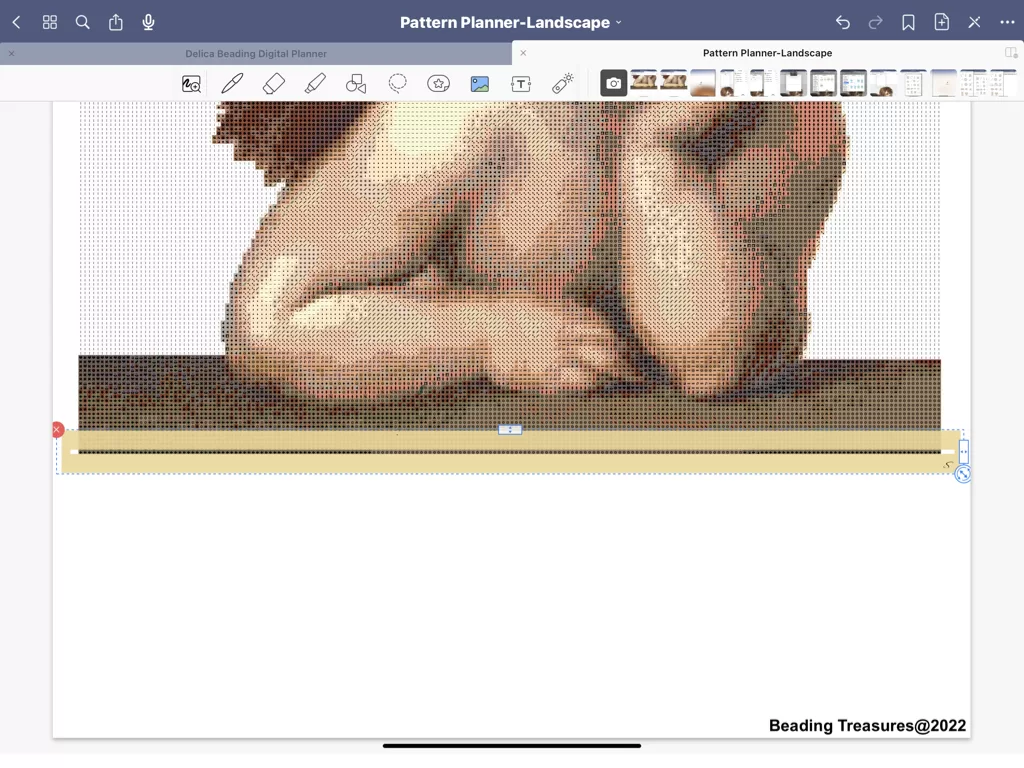
This is an example of a bead weaving pattern, where the weaving starts at the bottom and works progressively to the top.
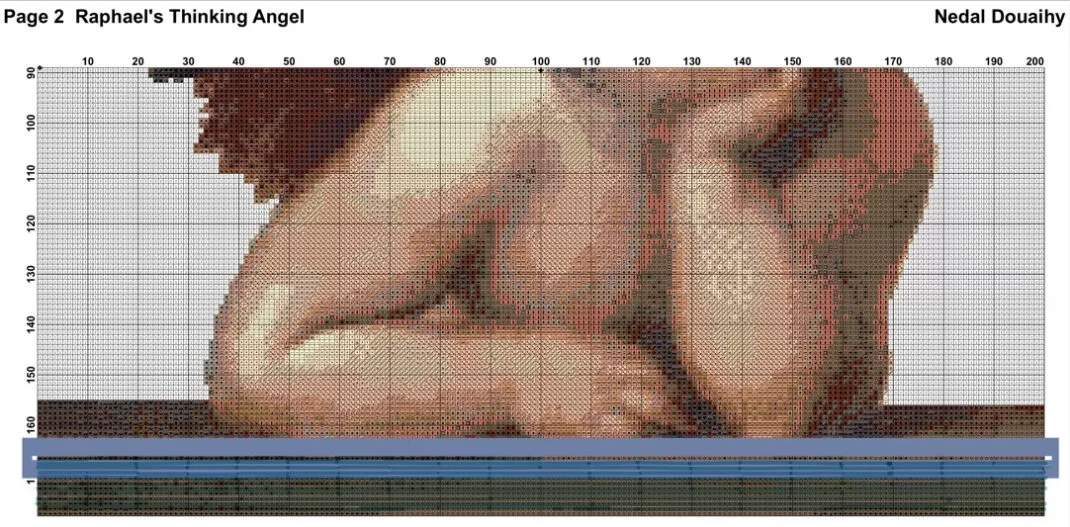
This is the format in which most bead designing software provide their grids and wordcharts, which is counterintuitive. However, this would not be an issue if you bead weave from top to bottom, which some weavers do to avoid inherent confusion.
Using the DLG you can mark off your lines one by one, paying scant attention to the faulty pesky row numbers at the edge.
They are available in 2 types:
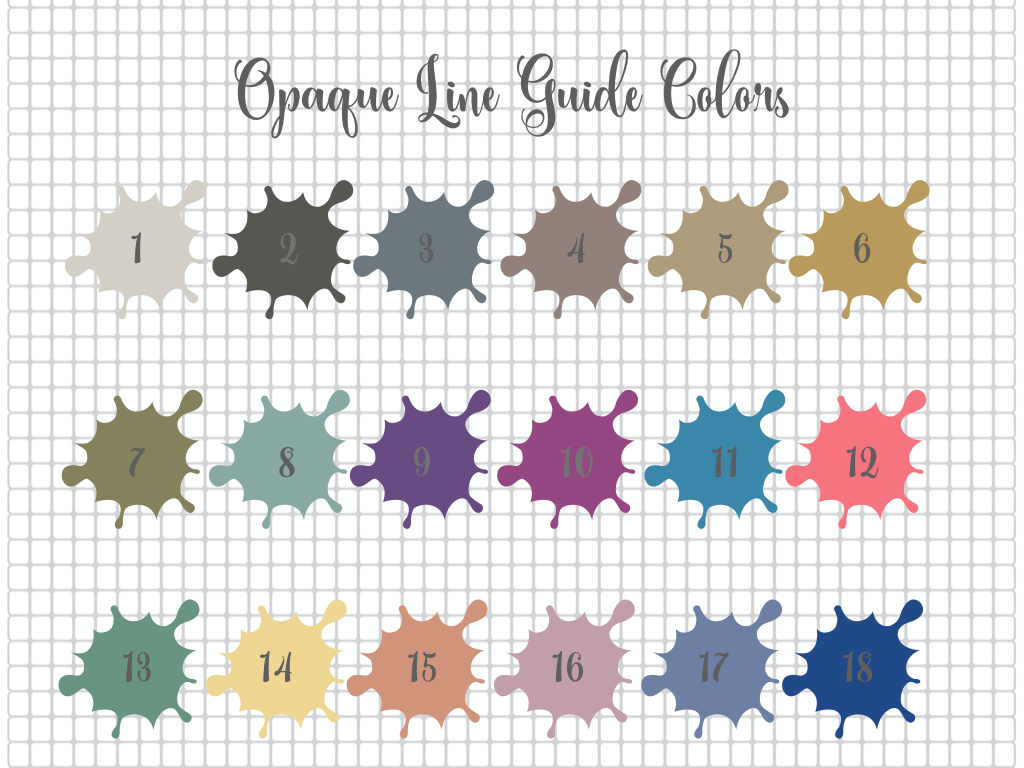
Opaque: For when you want to see only the line you are working from.
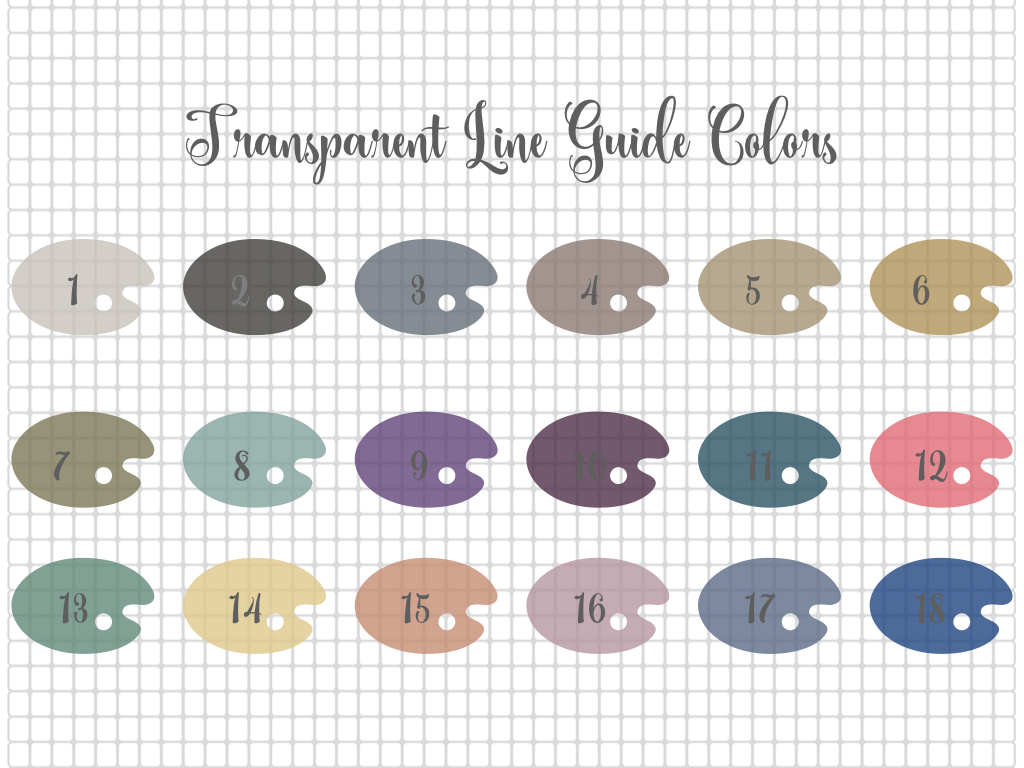
Transparent: For when you want to see the adjacent lines (on the top and bottom) to orient yourself and to check your work as you go.
Both come in 18 different colors for you to choose from.
Digital Line Guides (DLGs) Sizes
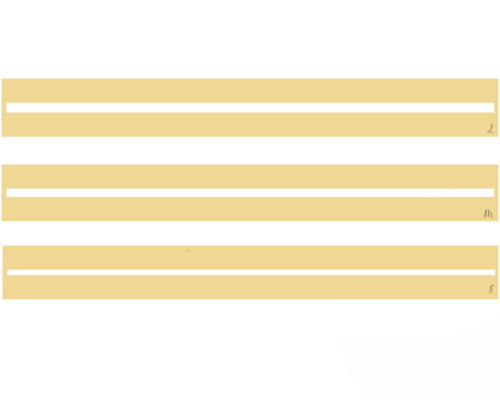
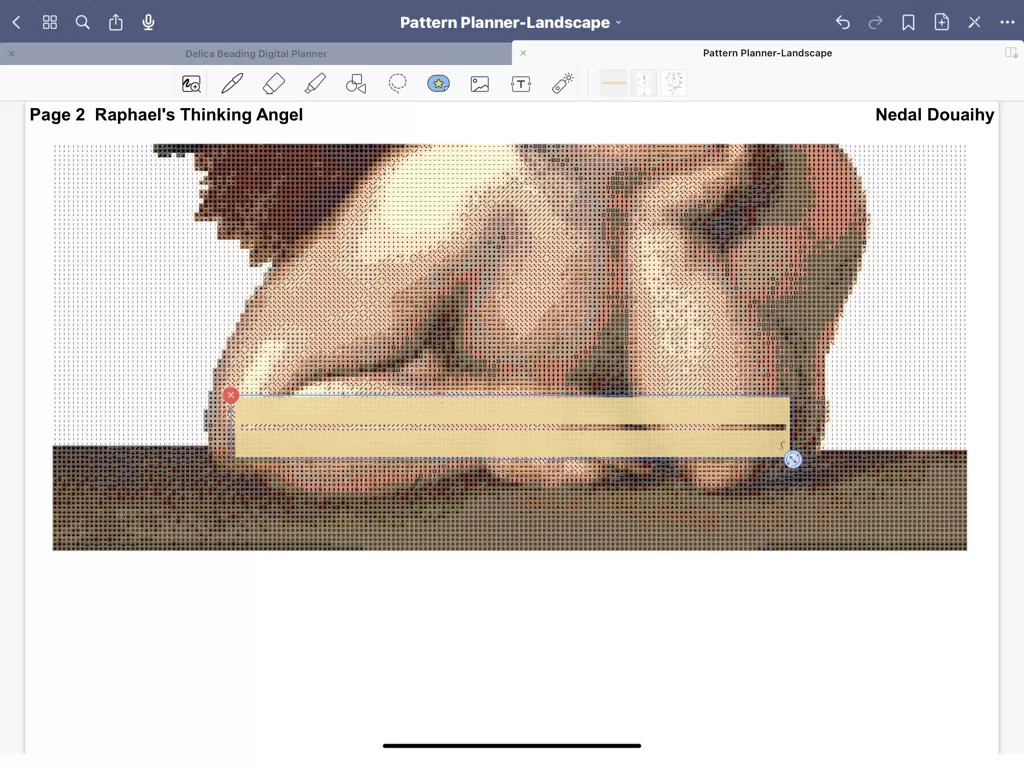
Every Digital Line Guide comes in 3 different sizes, meaning the height of the window in the middle where your pattern shows through can be small, medium, or large. This all depends on what pattern you will be using and how high the single line is.
The size of the DLG is noted on the bottom right.
L for Large window
M for Medium window
S for Small window
You can further adjust all of the DLGs in the pdf Annotation app itself to fit the pattern you are using. You can adjust the height to make the window larger and the width so that the whole line in the pattern shows.
To minimize the need for doing this, however, select the line guide size that best fits your pattern.
Adding the DLGs into GoodNotes
To have the DLGs ready for you to use with any pattern you import, the best way is to import them as an element so that they are there whenever you need them.
How to import the Digital Line Guide into GoodNotes as an element.
- Open GoodNotes app and go to the pattern you wish to use the DLG with.
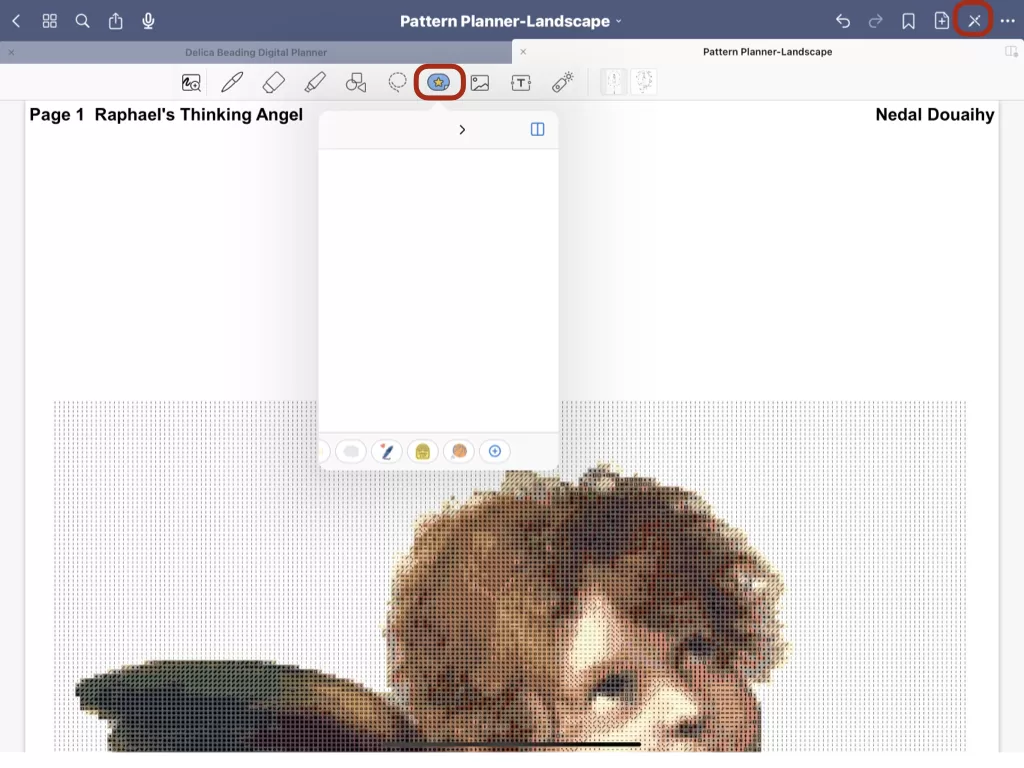
- Making sure you are in edit mode, tap and hold on the ELEMENTS icon (icon with the star)
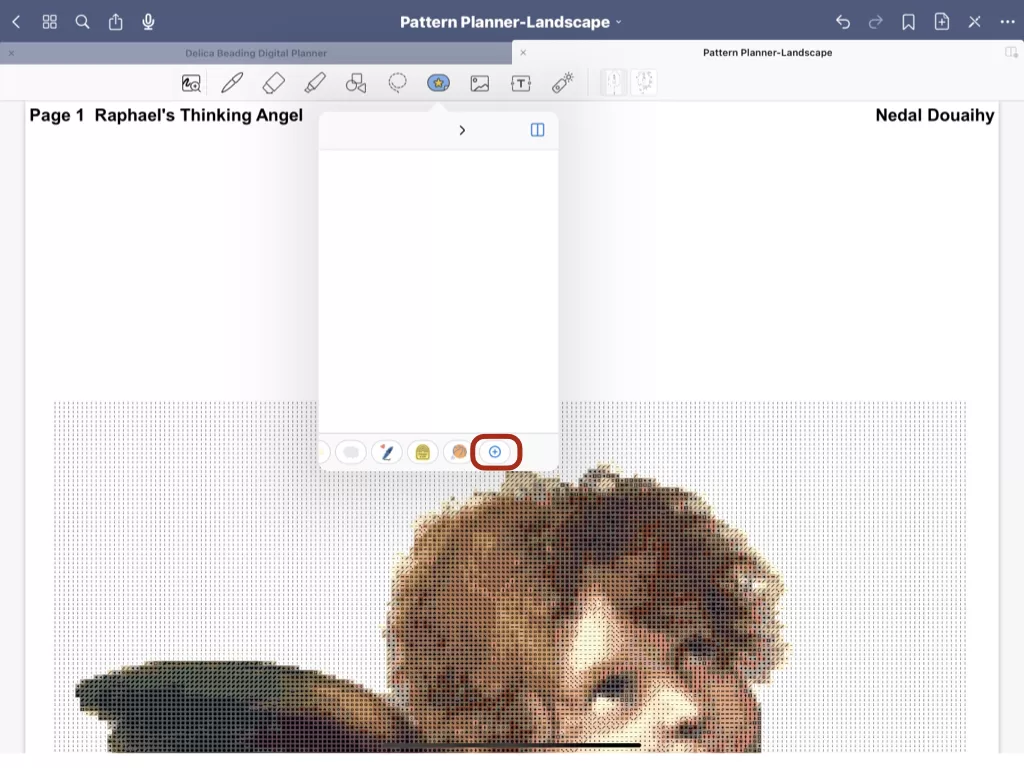
- Swipe the icons at the bottom of the RECENTS popup menu and tap the one with the + sign to add a new collection
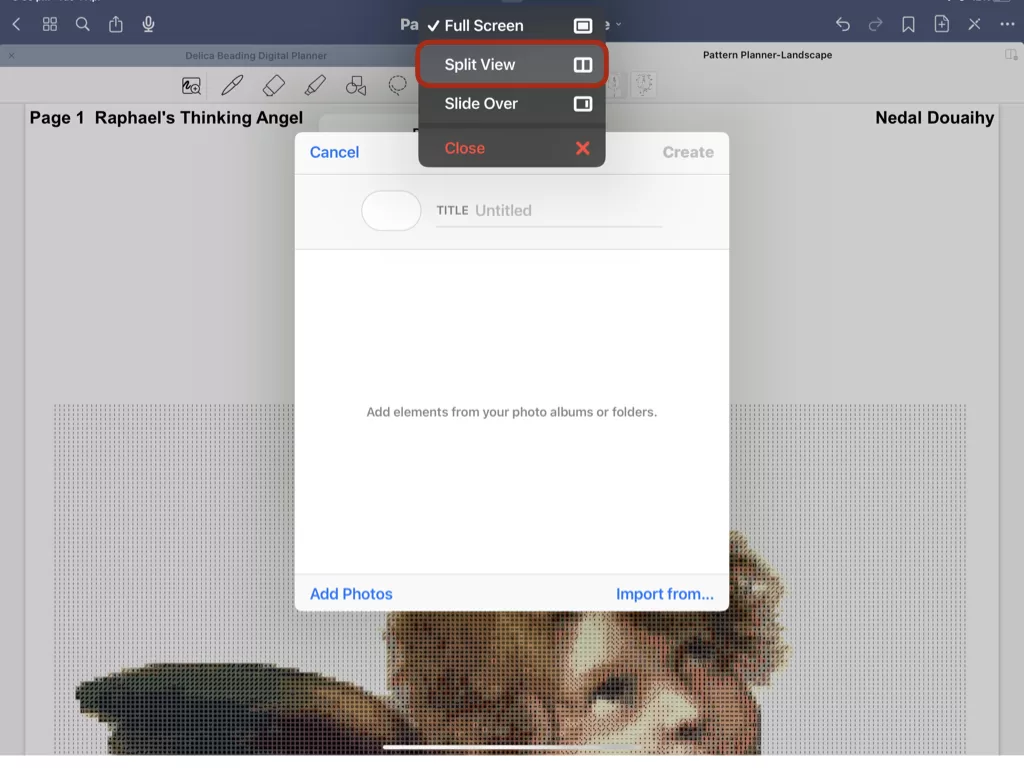
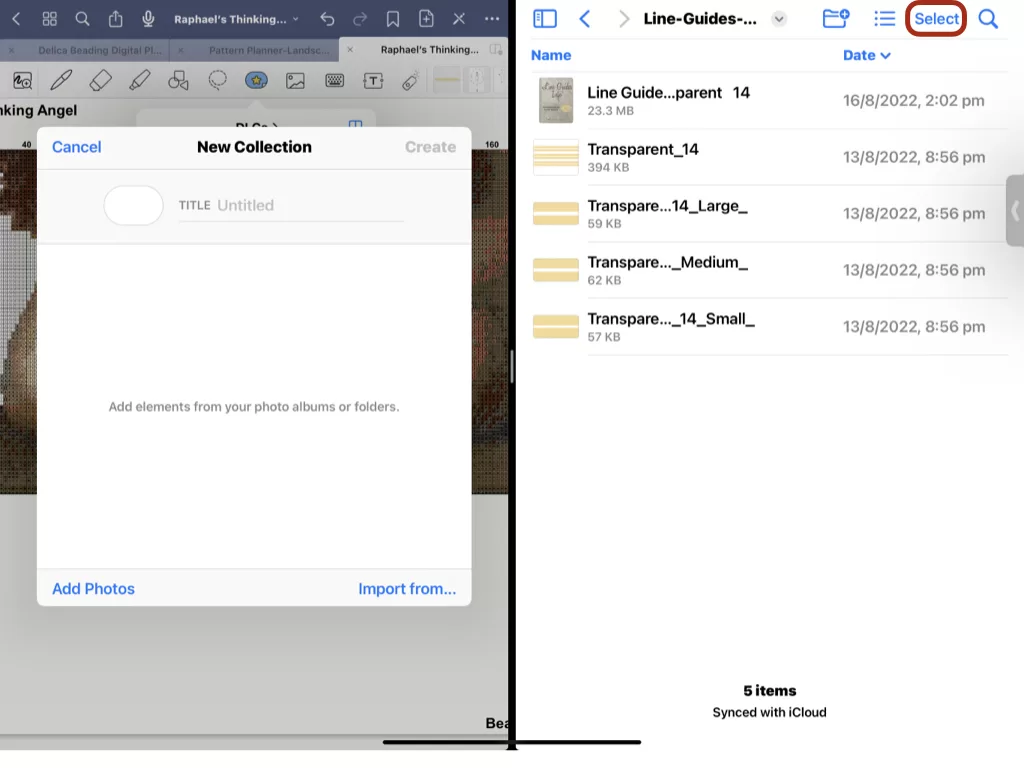
- Enter split-screen mode by tapping the 3 dots at the top middle of the screen and select Split view and Go to the folder where you have downloaded and extracted your purchased DLG zipped file.
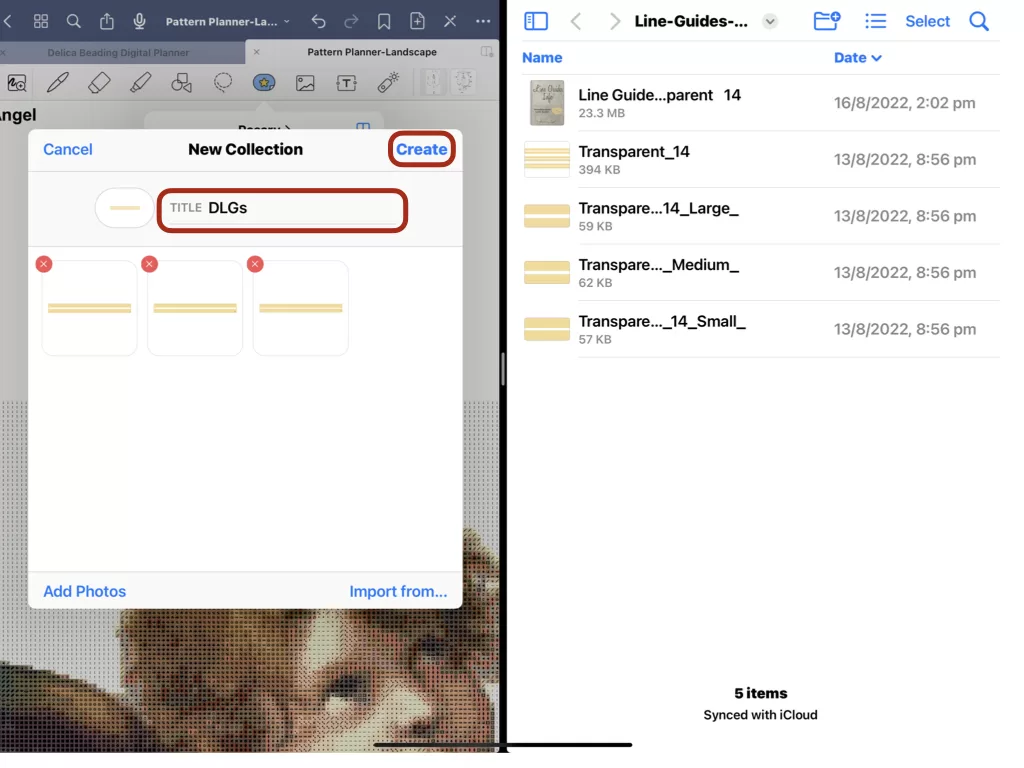
- Tap SELECT on the top right and select all 3 DLG sizes then select DONE. Drag them over to the New Collection popup window (the image file containing all 3 is there for backup in case something should happen to your DLGs).
- The New Collection will automatically take on the name of the first file you imported. Change that to DLGs or whatever you wish to name your collection.
- Tap CREATE at the top right
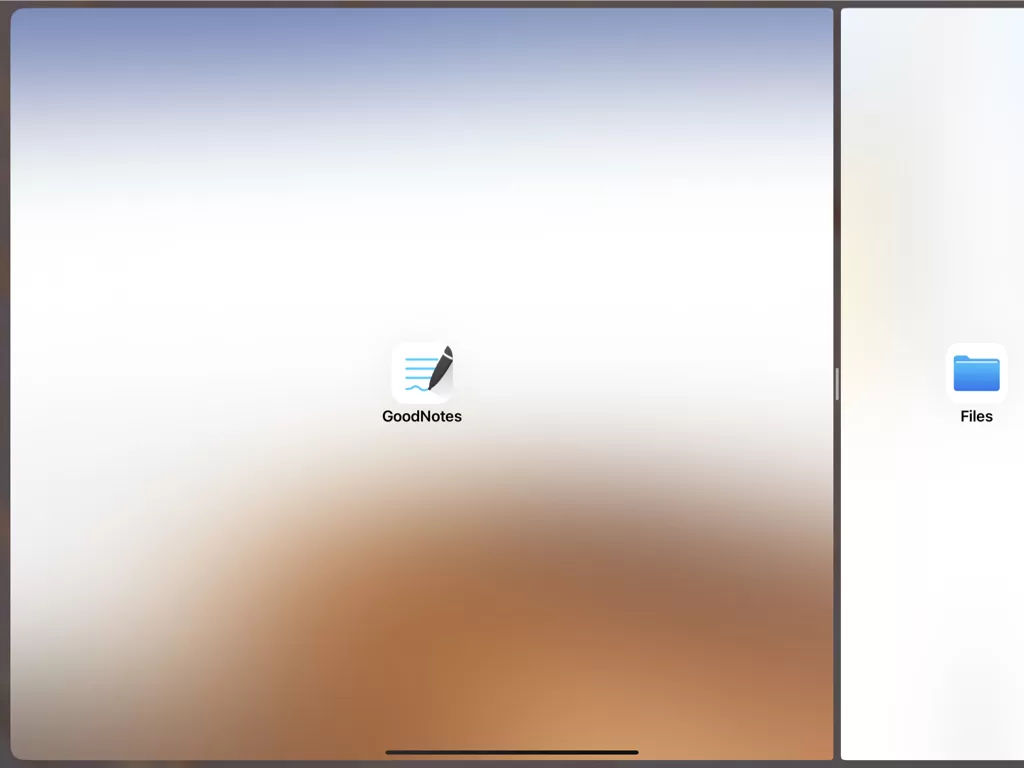
- Enlarge your GoodNotes screen by swiping it all the way to the opposite side
- Double check you are on the page in your pattern where you want to add the DLG
- Tap on the ELEMENTS Icon again if it is not still open(the sticker icon with the star)
- Select the DLG that best fits your pattern.
- Move the DLG and use the sizing areas on the top of the DLG and the right of it to adjust the size
Here is the easiest way to do this:
Move your DLG to the Line in the pattern where you want to start working.
Adjust the height of the window by using the sizing toggle there.
Centre your DLG in the middle of the pattern, making sure that you are still on your designated line.
Use the side toggle to widen your DLG.
Centre your DLG again.
Here is what’s next
Positioning your DLG on your pattern and adjusting it to the correct size, as well as how to move it as your work progresses.
If you enjoyed this post…
You might also like to read these posts too:
lATEST POSTS
Best Thread Color to Use with your Patterns
What is the best thread and thread color to use for weaving your bead tapestry?
Dec
Best Way to Weigh Your Beads
How best to go about weighing the beads in your stash before purchasing more for[...]
Dec
How BT is Helping You to Weave Large Bead Loom Tapestries
All things beading, bead looming large tapestries and digital planning for beaders.
Mar
Hi there! I’m Nedal.
I created Beading Treasures to make information about beading large tapestries more accessible, and in doing so encouraging creating of this amazing art form.
Weaving big can seem intimidating but by using some techniques it is totally doable, no more than that it is really enjoyable!
If you’ve found this blog helpful, please support me by choosing the affiliate products on my blog and following me on my social platforms.
Don’t forget to check out the shop.
Thank you!
Nedal Douaihy, Artist & Founder
